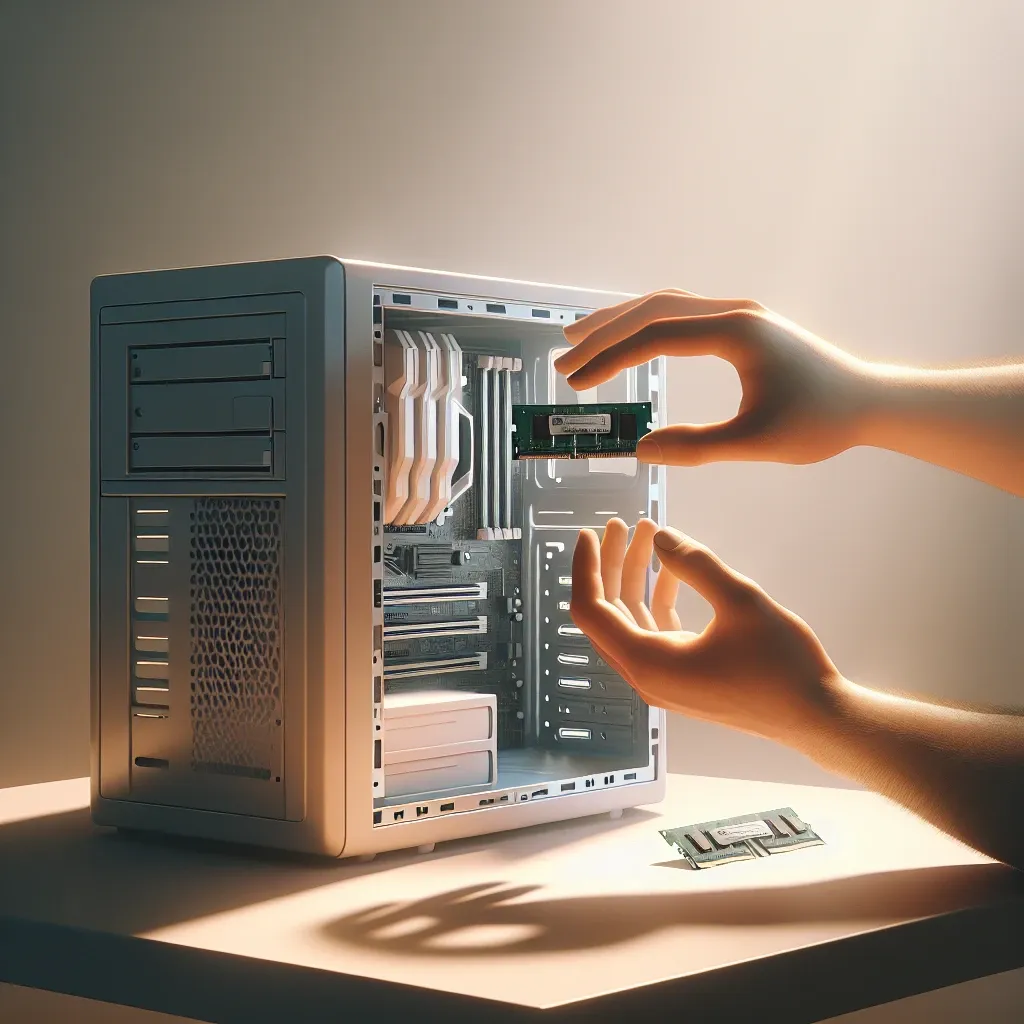
Upgrading the memory (RAM) in your HP PC is one of the most effective ways to enhance its performance, especially if you’re dealing with slow load times or multitasking difficulties. This guide will walk you through the process step-by-step, from checking compatibility to installation.
Why Upgrade Your RAM?
Upgrading your RAM can significantly improve your computer's speed and efficiency, helping to run more applications simultaneously without lag.
Step 1: Check Compatibility
Before purchasing new RAM, it's crucial to ensure its compatibility with your HP PC. Here are key factors to consider:
| Factor | Description |
|---|---|
| RAM Type | Check if your PC supports DDR2, DDR3, or DDR4 RAM. |
| Maximum Capacity | Look into the maximum RAM capacity your motherboard can handle. |
| Speed | Ensure the RAM speed (measured in MHz) is compatible. |
How to Find This Information
You can usually find these details in your PC’s manual or on HP’s official website. Alternatively, you can use third-party software like CPU-Z to find this information.
Step 2: Purchase RAM
Once you have confirmed compatibility, you can purchase the RAM from online stores or local retailers. Make sure to buy from reputable brands such as Corsair, Kingston, or Crucial.
Step 3: Gather Your Tools
To install the RAM, you'll need:
- Anti-static wrist strap
- Small Phillips head screwdriver
- Your new RAM modules
Step 4: Turn Off and Unplug Your PC
Before beginning the installation process, ensure your PC is completely turned off and unplugged from any power source.
Step 5: Open the Case
Most HP PCs require you to unscrew the side panel of the case. Consult your user manual for specific instructions.
Step 6: Ground Yourself
It’s important to use an anti-static wrist strap to ground yourself, preventing any static electricity from damaging the components.
Step 7: Locate the RAM Slots
RAM slots are usually located near the CPU. Refer to your motherboard’s manual to easily identify these slots.
Step 8: Remove Old RAM (if upgrading)
If you’re upgrading your existing RAM, carefully unclip and remove the old RAM sticks.
Step 9: Insert New RAM
Align the notches on your RAM module with the notches in the RAM slot and press down firmly until it clicks into place.
Step 10: Reassemble and Power On
Once the new RAM is securely in place, close the PC case and screw it back in. Plug your PC back into the power source and turn it on.
Step 11: Verify Installation
After powering on, go to your system settings to verify that your operating system recognizes the new RAM. You can do this by navigating to ‘System’ in the Control Panel on a Windows PC.
Troubleshooting Tips
If your PC doesn’t recognize the new RAM, double-check that it’s seated correctly. Ensure you hear a click when pressing down on the module.
Conclusion
By following these steps, you can successfully upgrade the RAM in your HP PC, boosting its performance and allowing you to run multiple applications smoothly.

