Introduction
The Apple Magic Mouse is a popular accessory for Mac users, known for its sleek design and seamless functionality. However, like any wireless device, it relies on batteries to function. If your Magic Mouse has suddenly stopped working, it’s likely due to dead batteries. Replacing batteries in an Apple Magic Mouse is a straightforward process that you can do at home in just a few minutes. This guide provides step-by-step instructions on how to replace dead batteries in your Apple Magic Mouse and ensures it’s back to working condition quickly.
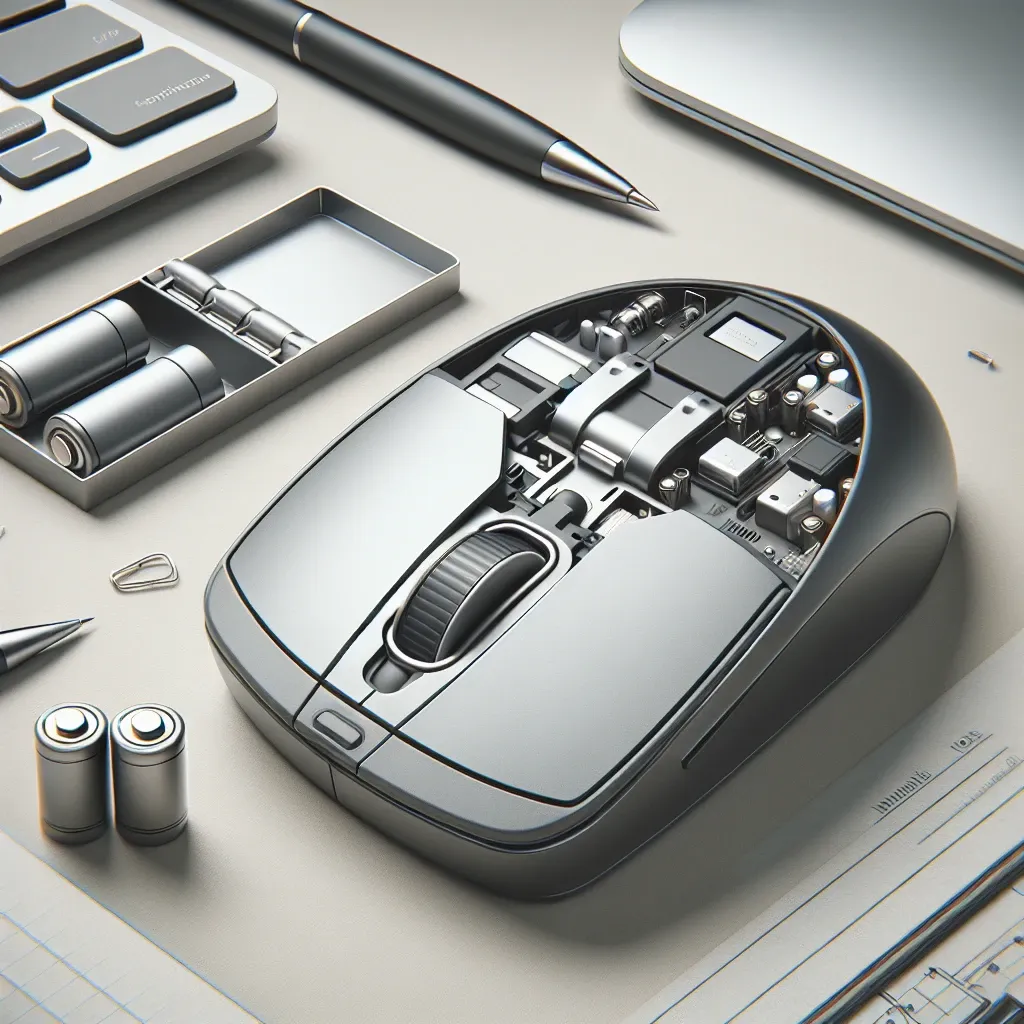
Required Tools and Materials
Before you start replacing the batteries in your Apple Magic Mouse, make sure you have the following items:
- New AA batteries (preferably alkaline or rechargeable)
- A clean, flat workspace
Table: Tools and Materials
| Item | Description |
|---|---|
| AA Batteries | New alkaline or rechargeable batteries |
| Workspace | A clean, flat surface to work on |
Steps to Replace the Batteries
Follow these steps to replace the dead batteries in your Apple Magic Mouse:
Step 1: Turn Off the Mouse
Before you begin, turn off your Apple Magic Mouse to ensure safety. You can do this by flipping the mouse over and sliding the switch to the “off” position. The green LED light will go off, indicating that the mouse is now powered down.
Step 2: Open the Battery Compartment
Locate the battery compartment cover on the bottom of the mouse. It’s a small, rectangular door with a release latch. Use your thumb to slide the latch towards the bottom edge of the mouse. The cover will pop open, revealing the batteries inside.
Step 3: Remove Old Batteries
Carefully remove the old batteries and set them aside. If the batteries have been in the mouse for an extended period, they may be corroded. Use a cloth to wipe down the battery connections if necessary.
Step 4: Insert New Batteries
Take your new AA batteries and insert them into the battery compartment. Pay attention to the polarity indicators inside the compartment to ensure that you’re inserting the batteries correctly. The positive (+) and negative (-) ends should align with the corresponding symbols inside the battery slot.
Step 5: Close the Battery Compartment
Once the new batteries are in place, snap the battery compartment cover back onto the mouse. Press down until you hear it click securely into place.
Step 6: Turn On the Mouse
Flip the mouse back over and slide the power switch to the “on” position. The green LED light should illuminate, indicating that the mouse is now powered and ready to use.
Troubleshooting Tips
If your Apple Magic Mouse still doesn’t work after replacing the batteries, consider the following troubleshooting tips:
- Check Battery Orientation: Ensure that the batteries are inserted with the correct polarity.
- Use Fresh Batteries: Make sure the batteries you’re using are new and not depleted.
- Clean Contacts: If there is corrosion on the battery contacts, clean them with a small amount of rubbing alcohol on a cloth.
- Restart Your Device: Sometimes, turning your computer off and on again can help reset the Bluetooth connection.
Conclusion
Replacing the batteries in your Apple Magic Mouse is a quick and easy task that can restore your mouse’s functionality in just a few minutes. By following this guide, you can ensure your Magic Mouse stays operational and continues to deliver the seamless performance you expect from an Apple product. Regularly checking and replacing the batteries will help maintain the longevity and efficiency of your mouse. Happy clicking!