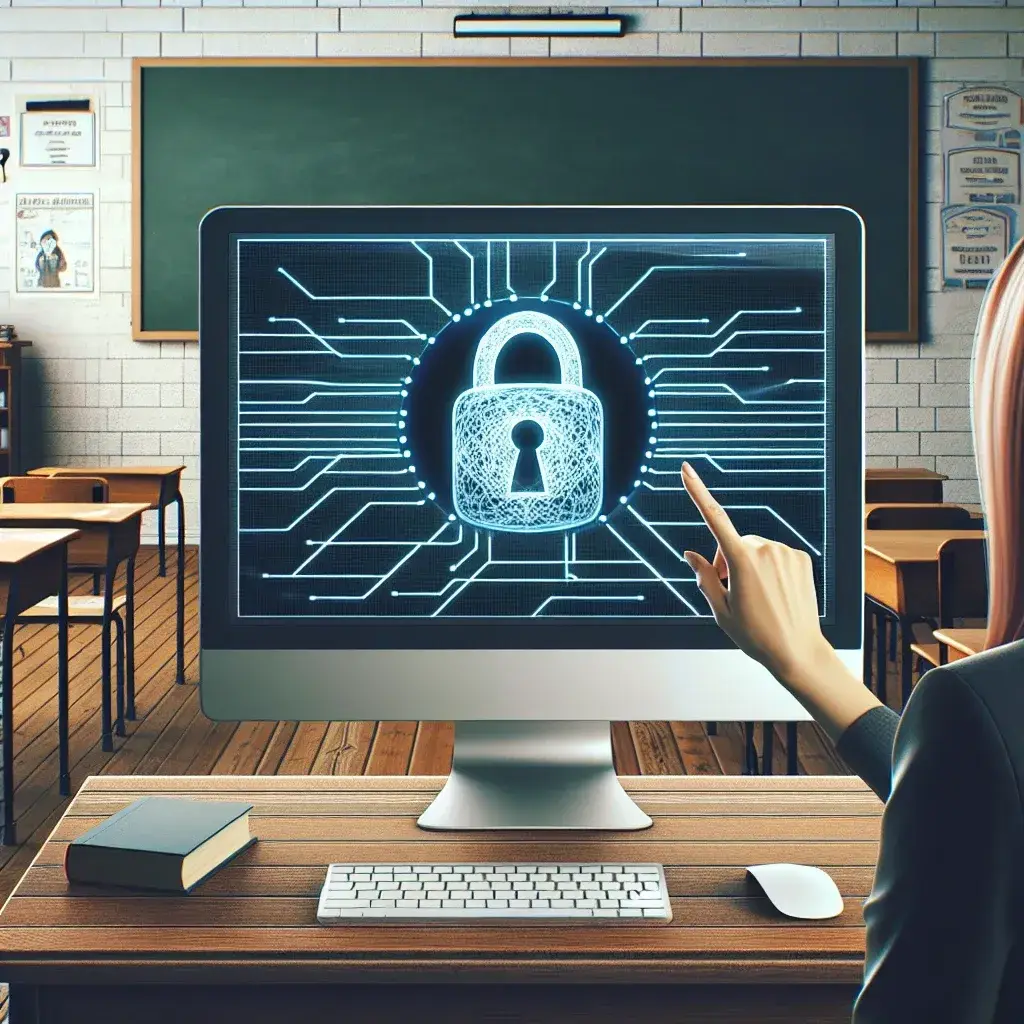
Why Install a VPN on a School Computer?
Using a Virtual Private Network (VPN) on a school computer can be beneficial for several reasons. VPNs not only help in bypassing restricted content but also play a significant role in protecting your online privacy and securing your internet connection.
| Reasons | Benefits |
|---|---|
| Bypass Restrictions | Access educational resources, social media, and more |
| Privacy Protection | Hide your browsing activities from network administrators |
| Secure Connection | Protect your data from potential cyber threats |
Steps to Install a VPN on a School Computer
1. Choose a VPN Service
First, you need to select a reputable VPN service. Some popular options include ExpressVPN, NordVPN, and CyberGhost. Ensure the VPN service you choose is reliable and offers a strong encryption.
2. Download the VPN Software
Visit the official website of your chosen VPN provider. Find the download section and select the software suitable for your computer’s operating system (e.g., Windows, macOS).
3. Install the VPN Software
After downloading the VPN software, locate the installation file and follow the on-screen instructions to install it on your school computer. You may need administrative privileges to complete the installation.
4. Set Up the VPN Software
Once installed, open the VPN application. You will likely need to log in with the credentials provided during registration. Some VPNs may offer a free trial period; make use of it to test the service.
5. Connect to a VPN Server
After logging in, choose a server location from the available list. Servers closer to your location generally offer better speeds.
6. Verify the VPN Connection
To ensure your VPN connection is active and working correctly, you can visit websites like WhatIsMyIP to check your new IP address. Your location should reflect the server location, not your actual location.
Best Practices for Using a VPN at School
- Turn On Kill Switch: Ensure the kill switch feature is enabled. This prevents your data from being exposed if your VPN connection drops.
- Avoid Free VPNs: Free VPNs often come with data limits and security risks. Opt for a paid service for better privacy and reliability.
- Regular Updates: Keep your VPN software up to date to enjoy the latest features and security improvements.
- Log Out After Use: Always log out from the VPN application when you are done using it to avoid unnecessary drainage of resources.
Conclusion
Installing a VPN on a school computer can provide you with the freedom to access restricted content and protect your online privacy. By following the step-by-step guide above, you can easily install and configure a VPN to enhance your internet experience at school.